Got my date through for IVA, it's Thursday 2nd August, 8am. It took a little longer to come through than I'd hoped but given the problem I had with the alternator, I'm glad of the extra time. I should get the new alternator in this weekend and then it's just a matter of going right through the car once more, checking everything's tight, any sharp edges taken car of and everything's adjusted as it should be.
Roll on the 2nd August, let's hope it's not raining !
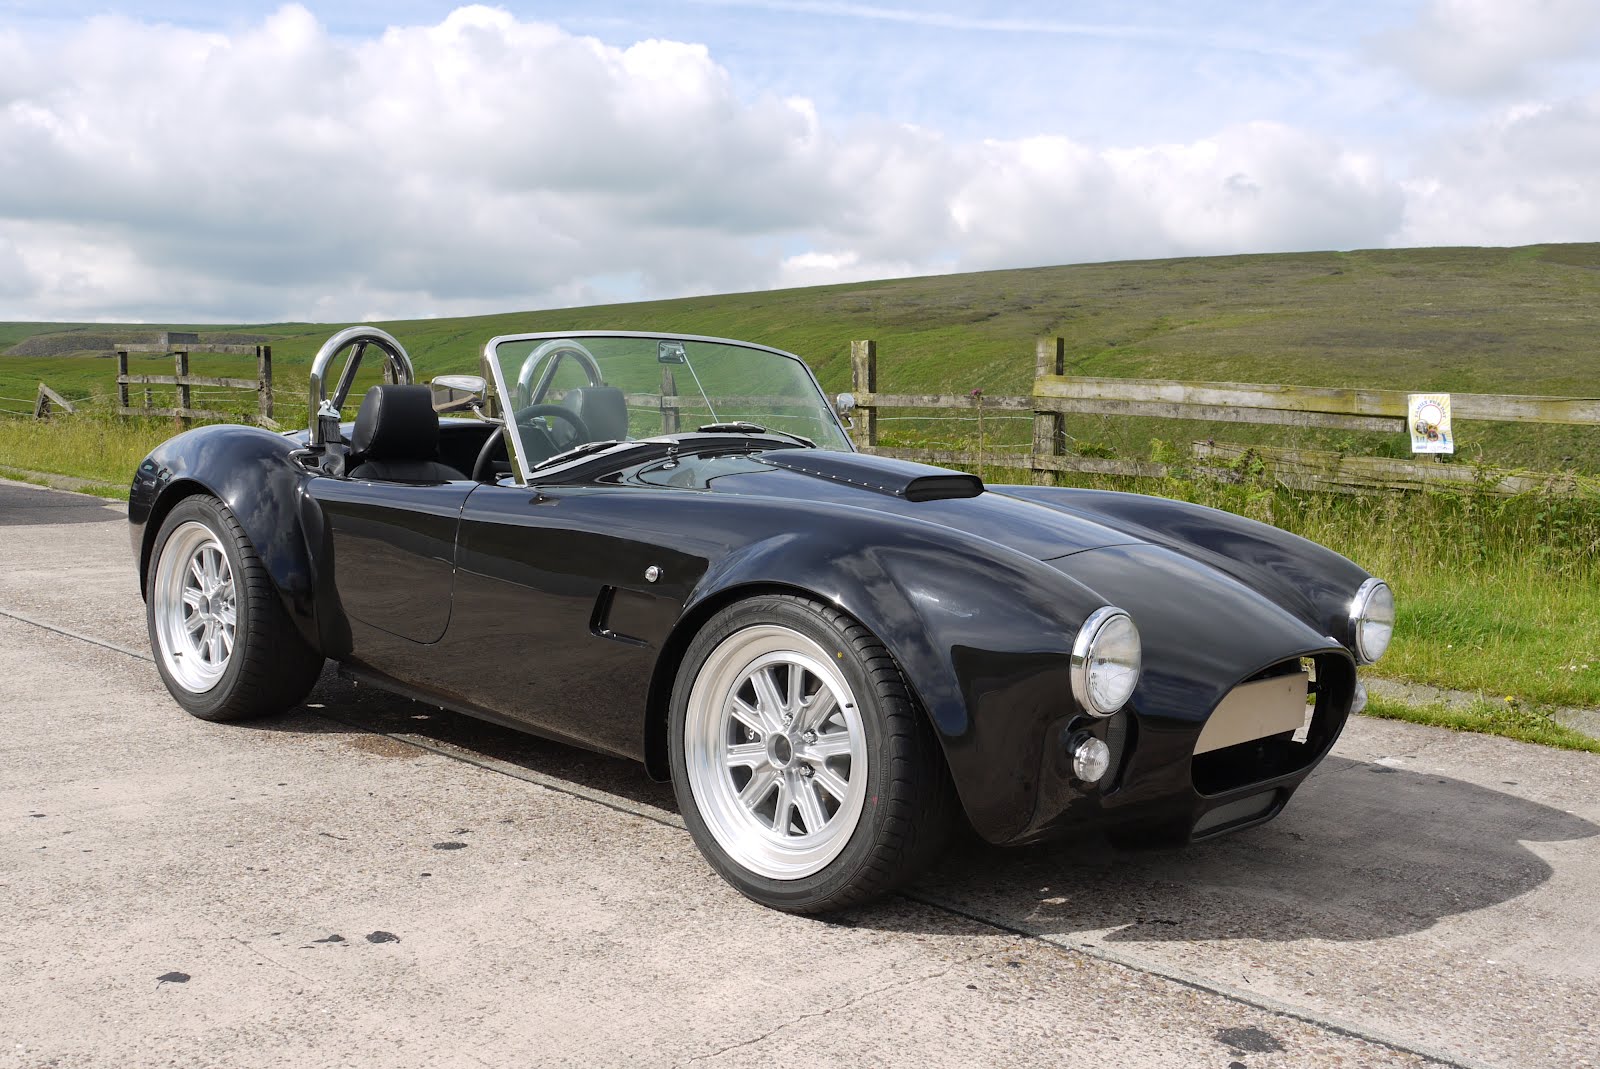
GD427 in action

Friday, 20 July 2012
Thursday, 12 July 2012
MOT
Well the 11th came and went with no date set for the IVA.


Being a little impatient but also in line with my original plans I took the car for a pre IVA MOT test.
The test itself was quite uneventful with the car getting a clean bill of health but the drive there and back was fantastic. I did have a little breakdown just as I got home caused by a flat battery which on further investigation proved to be a dodgy alternator but it wasn't enough to remove the permanent grin I've been wearing ever since. I must have picked the best day of the summer so far and had a traffic free 20 mile round trip in glorious sunshine.
Stopping on the way for a few basic checks proved to be a good photo opportunity to record the first time the car has been out on the road.


Sunday, 8 July 2012
It's ALIVE !!!
Last post for today, no pictures, no video, just a great big smile.
One thing I forgot to mention in my previous post was that when I put the car away in the garage today, I DROVE it in !
It's been 5 years in the making and whilst the maiden voyage was only about 5 metres, I have driven my car !
With hindsight, it would have been a better idea for the first drive to have been "out" of the garage rather then "into" the garage but nethertheless, it moved under it's own power and everything was great !
Wiper arms
Finally, the rain couldn't hold off any longer and I had to put the car away in the garage, ironically, this reminded me I needed to fit the windscreen wipers. These were relatively straight forward but the arms had to be tweaked a little in the vice to get the bend right so the blades sat square with the bottom of the screen. The arms were adjustable for length and once set so they reached the top of the screen as they swept, a small locking tab is twisted to hold them at that length.

Indoor picture I'm afraid

Hydraulic hose bracket.
I actually made this a few weeks back but only just reached the position where I could fit it.
I started out with a length of box section.
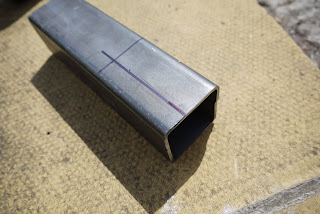
From which I cut a section designed to cup the hydraulic hoses which go from the resevoirs to the master cylinders.

I used an off cut to make a leg and drilled some holes for mounting and allow me to "puddle" weld the two together.

Welds finished and ground smooth

I painted it black with some POR-15 and bolted it to the steering column support using the same U-bolt that holds the column itself. To finish, a couple of zip ties holds the hydraulic hoses in their place. Quite proud of this !

Mirrors
The side mirrors screw into some holes I drilled and tapped into the windscreen support frame. These come fitted with mounts to fit onto doors which need replacing with the arms supplied by GD. It's simply a case of removing the plastic clip which holds the glass in, undoing the screw which holds the mirror onto the mount, swapping for the GD one and putting it all back together.


I also fitted the rear view mirror which clamps onto the windscreen centre stay. The stay is designed to hold the top of the windscreen frame down when a soft top is fitted which at speed, pulls up on the top of the frame. Unfortunately, whilst it will no doubt do it's job, it's not tensioned at rest and allows the mirror to wobble a bit. I'll have to sort something for the IVA test as I understand a "wobbly" mirror is a fail.

Sorry, just realised how pointless this last picture was, it was meant to show all the mirrors mounted but if you look closely, you can just make out the rear view mirror fitted at the top of the screen. I'll sort out a better picture next time.
Number Plate
In order to mount a number plate to the number plate bar I made a MDF blank which fits onto the bar using 19mm p-clips. They were a little loose so I used a bit of insulating tape around the bar to pad it out a little. Whilst I haven't got a number plate yet, this area is part of the IVA test and if nothing was fitted in this area it would be fail.
This gave me a chance to get some of my power tools out that haven't been used in while and I used a router to put a nice radius on the edge of the MDF.

This gave me a chance to get some of my power tools out that haven't been used in while and I used a router to put a nice radius on the edge of the MDF.

Interior finished
Other than replacing my "just for now" steering wheel, the interior is now finished. I've fitted the dash and steering column for the last time having tested all the electrics and I'm very pleased to say everything works as it should, including the additional circuits I added myself.


- Neutral Safety Switch - Engine only starts if the clutch is depressed, check !
- Reverse Lockout Solenoid - Reverse can only be engaged with clutch depressed and brakes on, check !
- Hidden drop down 12v socket under dash - powers SatNav, charges phone etc, check !
- and last but no means least, heated seats - nice warm bottom, check !


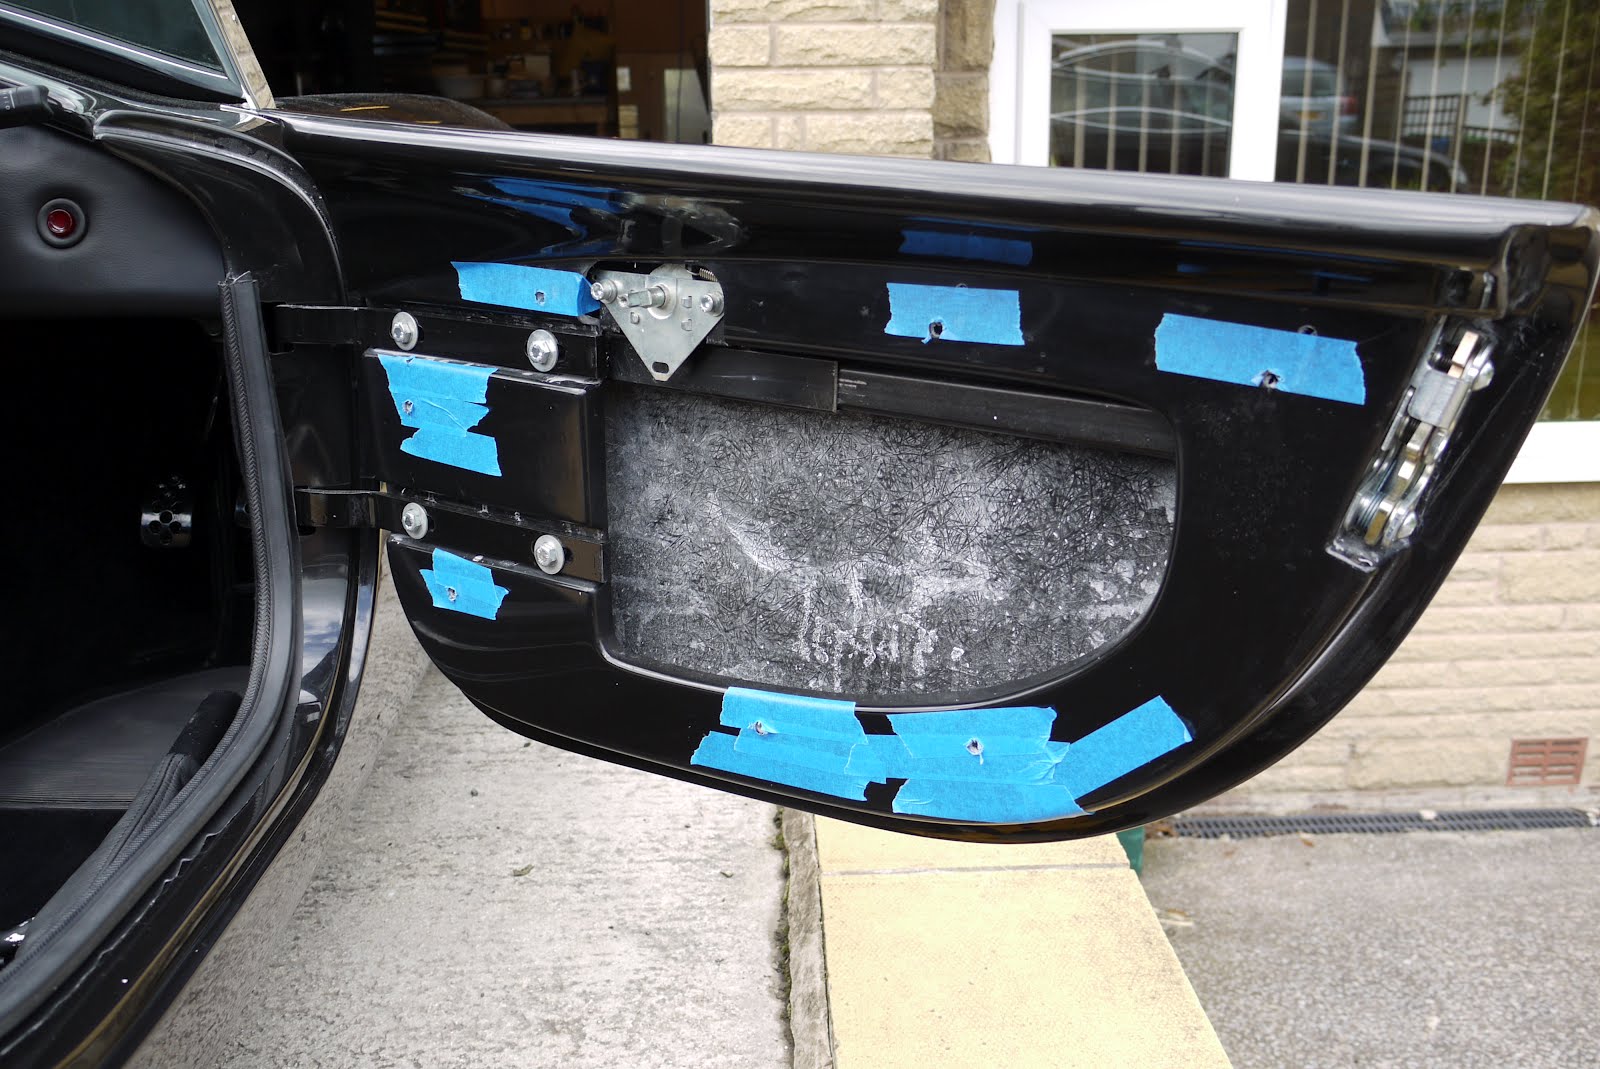
Door Cards
Next up was the door cards. These come premade with the fixing clips supplied. I made a bit of a mess with the first one largely because I assumed the orientation of the clips should be vertical but they were too close to the edge and fouled the rear of the leather where it folds over onto the rear of the card. I changed tack and fitted the clips into the card horizontally which gave no clearance problems and made the job a lot easier. The clips were quite a tight fit into the card and the cards are quite light so I'm not worried about the card dropping once fitted. The method involved punching a hole through the leather to line up with the door handle and then by placing the top row of clips into the card and marking the end with a marker pen, you use the door handle as a point of reference and push the card onto the door transferring the marks from the end of the clips onto some masking tape stuck to the inside of the door. Drill these marks out to 7mm, repeat the same technique for the others and the door card clips into place. Before fitting I took a picture of the rear of the card, noting the orientation of the clips which will make things easier should I ever have to remove it.


Same technique for the other side which was a lot easier and a lot faster having learnt all my lessons on the first one
Gear shift gaiter
A busy weekend, it managed to stay dry for most of and I got quite a lot done in which was supposed to be the last weekend before my IVA test but I've still not had my date through. Oh well, press on regardless.


The first thing I did was to fit the gaiter which covers the gear shift. The leather is secured by a stainless steel ring and needs to be pulled out around it's edges to fit underneath. Using a needle, I I threaded some cotton through the edge of the leather so I could pull it outwards from underneath the plate

By pulling on the cotton threads and then tightening down the escutcheon plate with some self tapping screws, I managed to pull the leather into place and trap it at the same time. Then it was just a case of removing the protective film, eh voila !

Sunday, 1 July 2012
Seats in
Kinda lost my way over the past couple of days, been running around doing little bits here and there, finishing off the odd job where I'd used a standard nut but meant to use a nyloc, tidying some of the cable runs, trimming the ends off cable ties ect. and thinking about the IVA.
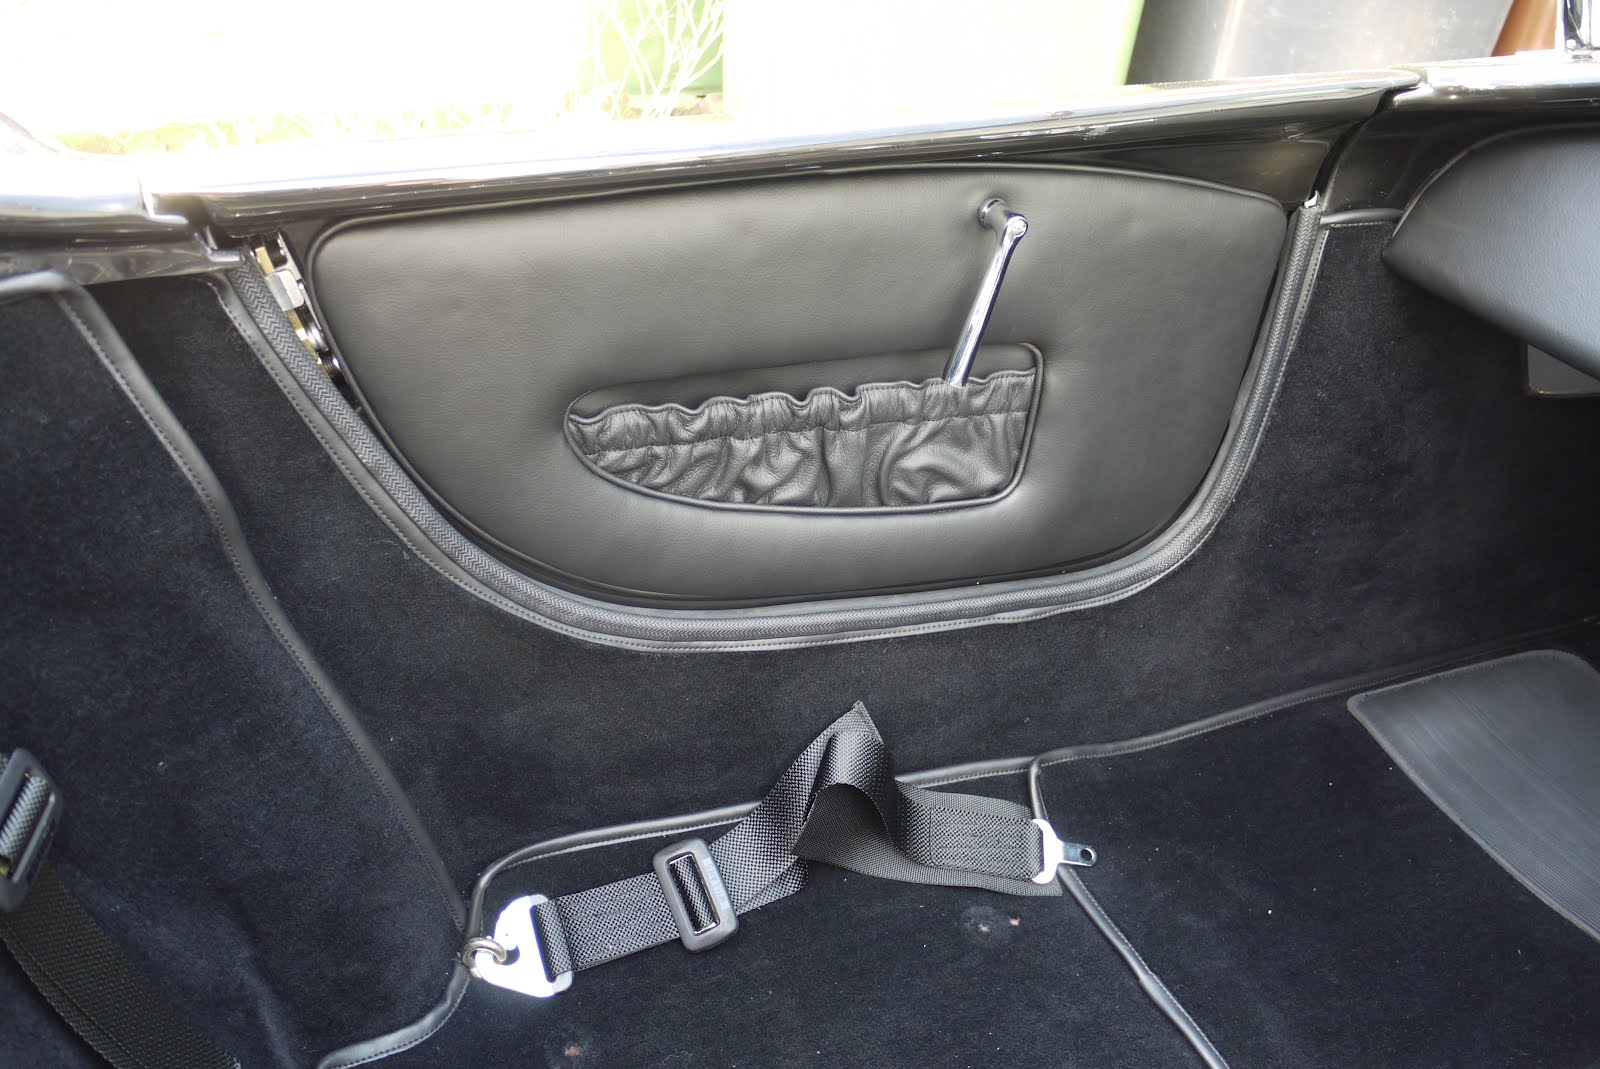
In terms of milestones, I've fitted the harness eye bolts after painting the load spreading plates black which go under the floor. I also fitted the eyebolts into the roll bars. As the roll bar contains a captive nut in the form of a threaded sleeve, in order for the eyebolt to tighten into the correct position you have to add or remove washers so it's vertical when fully tightened.

I fitted the handbrake gaitor, the one supplied is made from thick stainless steel and I wasn't sure how it fitted, it appeared that it had to be bent to follow the contour of the floor in this area and rather than risk making a mess of it, I made a copy in aluminium as a trial. The ally one fitted perfectly and as you can't even see it when the seat is fitted I'll leave in place for now. If the seats ever have to come out again, I'll fit the stainless one.

Once the harnesses were in I couldn't resist trial fitting a seat.

And once you've started, well, it would be rude not too !

Only the door cards and gearstick to go and the interior will be finished.
Subscribe to:
Posts (Atom)